Add a picture to the booking page
Last updated 23 September 2026
You need the club administrator role for the club you're managing.
The booking page can show one photo next to the arrival and departure date fields — a shot of the bunkhouse, or the clubhouse it's attached to. It's optional, but a booking page without one looks bare.
You'll need an image file under 250 kB.
Step 1 — Open Accommodation Settings
Sign in, click Admin, and choose Accommodation Settings from the menu under your club's name. The direct link is /admin/accommodation-settings.
Step 2 — Choose your file
Click Choose File under Image to show on booking page and pick your photo.

Most common formats work: PNG, JPEG, WebP, GIF, AVIF, APNG, and SVG.
Step 3 — Wait for it to upload
The upload starts the moment you pick the file — there's no Save button. You'll see "Processing image..." and then a "Booking image has been updated" message.
The picture then appears on the booking page:
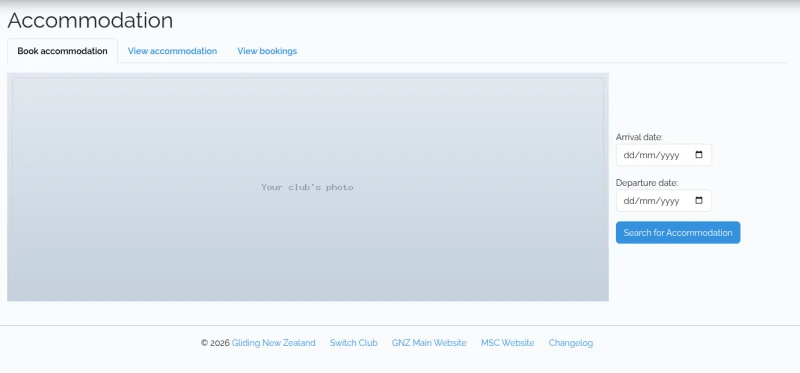
Use a wide, landscape photo. It's shown at about half the width of the page, so a tall one pushes the date fields a long way down — and on a narrow screen or a phone it stacks above them rather than sitting alongside.
If the file is too large
Files over 250 kB are rejected before they're uploaded, and the page tells you how big yours is. Shrink or re-export the photo and try again — a photo around 800 pixels wide is plenty for the space it's shown in.
Replacing or removing the picture
Uploading a new file replaces the old one straight away; the previous file is deleted. There's no button to remove the picture and go back to no image at all, so upload something you're happy to leave there.